It's amazing how people invent simple, small and inexpensive items hat are so practical. You know, the type of products or services that make you want to say,"Why didn't I think of that?"
The PicStick is one such invention. It's a small plastic gizmo that fits on the end of your hiking pole that enables you to mount your camera. You fully extend your pole, set your camera on a 10 second timer and then hold it out in front of you with some great mountain scenery behind - smile, and bingo, you have a great shot of yourself in the wilderness. It also works great with video for a 360 panorama with yourself as the centre piece. Here's what it looks like.
I bought one last year. It's a "must have" piece of equipment. Cost is $US11.98. I love it! To see it in action check out the two pictures of me in the Trip Photos section on the left of this page. Or go to the StickPic website

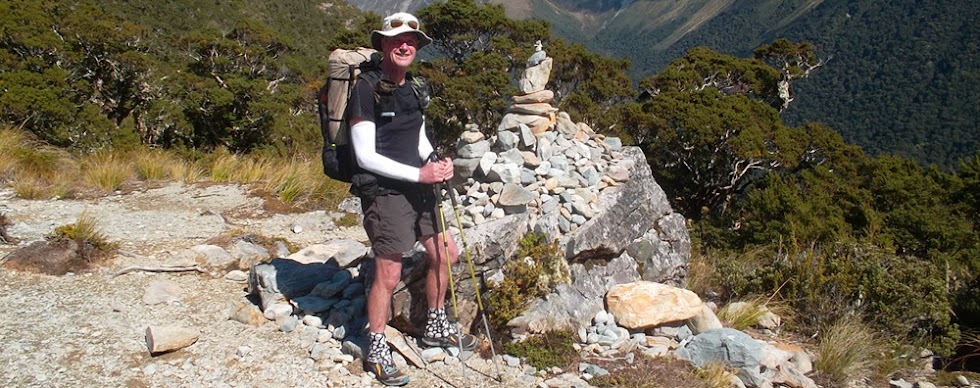
This blog is designed to exchange ideas about how to dramatically cut your gear weight to make tramping (hiking) trips less strenuous, but still remain safe and sensible. Subscribe, make comments, ask for advice, or share your lightweight gear experiences with our community. The header photo features me on McKellar Saddle. The pack is the 45Lt Zpacks Arc Blast, hiking poles Helinox FL120, Dirty Girl gaiters, Spalms sunsleeves and Altra Lone Peak shoes
23 Sept 2010
21 Sept 2010
So You Want To Go Light?
Many trampers "talk" about going lighter and they tinker around the fringes. If you are seriously thinking of carrying less weight (and who doesn't) then first concentrate on the big four and go from there.
Hexamid cuben fiberTarp - 86.6gms
Oware bivy bag - 284gms
WM HighLight sleeping bag - 455gms
Gossamer Gear Gorilla pack - 685gms
You are an adventurer in paradise, not a pack horse!
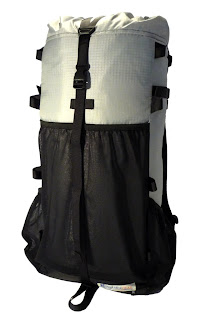
- The Pack - Why carry 2.5Kgs on you back before you even start to load your pack! The bigger the pack to more you put in it. For most trips up to a full week 35 to 40 liters in more than enough. I never need anymore than 35 liters. Make sure you have good outside storage, rear and side mesh pockets and bungy lacing. I can recommend Gossamer Gear's Gorilla pack and Ultra Light Adventure's Conduit or Circuit. Dyneema fabric is light and bullet proof for bush bashing.
- Your Boots - It takes a lot of energy to lift 1.5kgs of weight on every step for 4 to 6 hours! Boots were the last heavy piece of equipment I gave up - should have done it first up. Good trail running shoes will have you flying along and if you are doing a lot of river crossings you won't be lugging around another kilo of water in those wonderful Gortex waterproof boots. As for "ankle support", I'm sure that's a marketing ploy by boot manufactures. Mountain runners subject their ankle to more stress than us trampers and they fair OK. Try any good brand of trail running shoe that had good toe cap and extended side protection - I use New Balance 410 (out of stock now), Inov8 330, Montrail make a couple of good shoes. Most of these shoes weigh in at 600 to 700gms. I loved the old Montrail Vitesses but they stopped making them at the height of their popularity with the light weight community. Insane!
- Sleeping Bag - I have two - one for 2 to 3 season and the other for 3 to 4 seasons. I basically tramp 3 seasons. You can get some very good bags between 450 and 700kgs - My favourite is Western Mountaineering I would recommend the WM Summerlite for a "go to" bag. For winter conditions try the WM UltraIight. I have a MacPac Adventure 300 bag for the 3rd season - It's waterproof and the added weight (700gms) is OK, as I don't need the bivy for water splash protection under my tarp. I also have the WM HighLite as my 2/3 season bag (455grams), great combined with my Oware bivy under my tarp.
- Tent - Once again dependent on where and what season you are using your shelter in, but I am a tarp or tarp tent man now. You can pitch these in many ways and combined with a light weight bivy bag you will get great protection. I have the Oware eVent bivy at 284gms - a shitty website, but great gear. Checkout Mountain Laurel Designs for good bivys. I have just invested in the new Hexamid tarp with some special additions Joe is sewing in for NZ conditions - extended beak - more on this in future blogs. My 2 person shelter is the old Henry Shires Squall Classic at 700gms. Do your homework. There are hundreds of blogs and lightweight sites you can research. Checkout Six Moons (solo enhanced) and Mountain Laurel Designs tarp. They have some great tarps and tarp tents. The Gossamer Gear SpinnTwinn is also a winner.
Hexamid cuben fiberTarp - 86.6gms
Oware bivy bag - 284gms
WM HighLight sleeping bag - 455gms
Gossamer Gear Gorilla pack - 685gms
You are an adventurer in paradise, not a pack horse!
The Oware Cat2 Tarp
Here's a shot of my Oware Cat2 tarp at Ruby Lake last Easter - This tarp has served me well, but in search of lightness I have sold it and am thinking about the new cuben fiber Hexamid from zpack
Joe, who runs Zpack and manufactures in his own backyard did 159 days on the CDT with this tarp and it performed well.
I am talking to him about making some modification for NZ conditions.
You can see the stock version at here
I intend to have a roll-up extension to the beak - about 60 odd centimeters. Here's the coolest part, it weights in at 211grams!
10 Sept 2010
The Best Light Weight Pack - My New Baby
I've had a few packs! From the old wooden and aluminium frames of my teen tramping days to the ultra comfortable Macpacs. My movement into lightweight began when I realised my fabulous Macpac Glissade weighed 2.5 kgs before I stuck anything inside it! If you are starting to move into lightweight tramping, start with the big four - Pack, Boots, Bag and Tent.
I want to crow about my new purchase, the Gossamer Gear Gorilla Pack. This is one tough, light (750grams) pack that has the exact capacity I need for up to an eight day plus trip. Check this little baby out at http://www.gossamergear.com
Prior to this pack I alternated between a ULA Circuit and My old Macpac Amp 35. Both served me well. However the former was a bit too big (capacity wise) and the latter was a bit too heavy even after removing the foam back pad.
I've seam sealed the pack on the inside and added bungee cords to the sides.
Subscribe to:
Posts (Atom)

